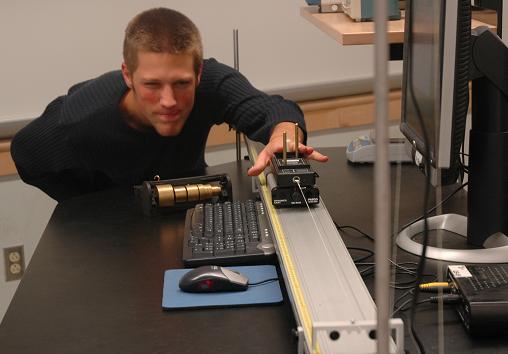
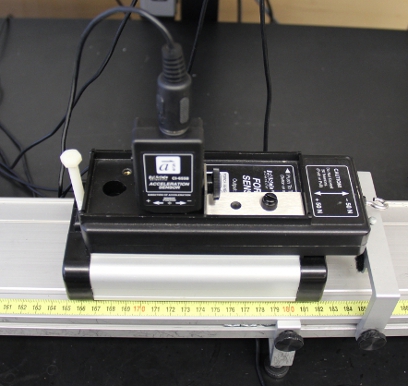
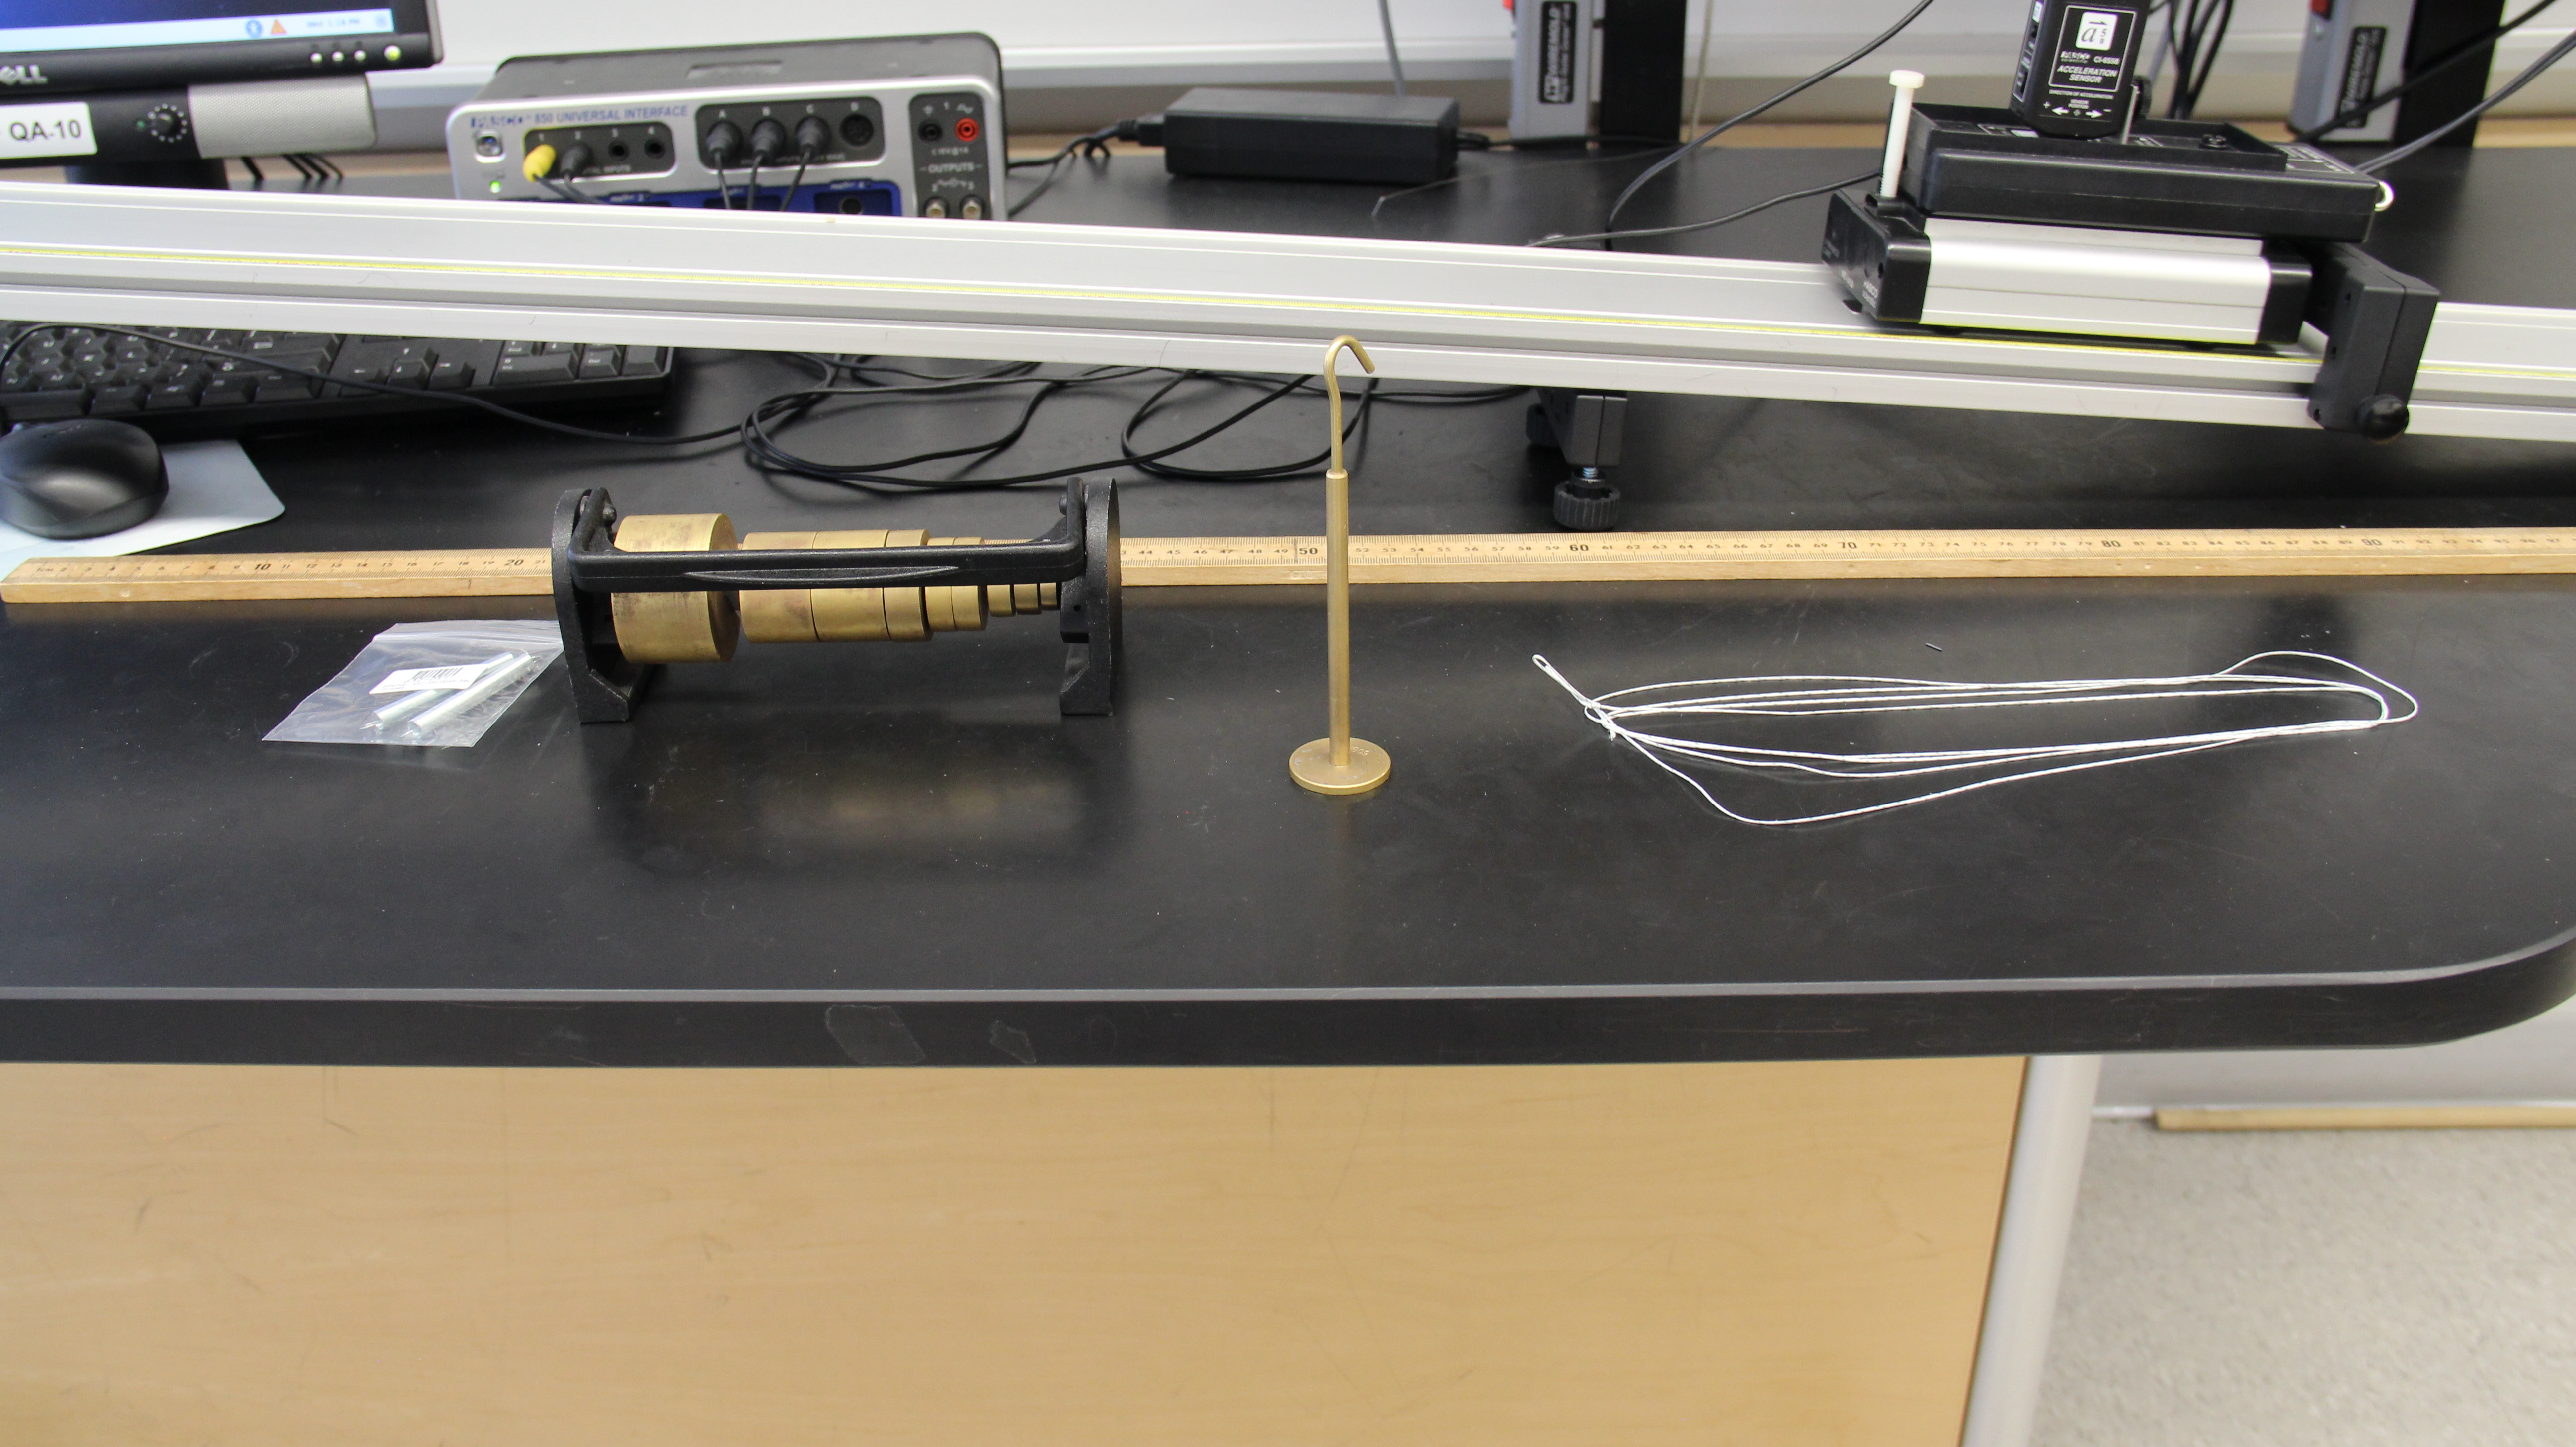
This image does not really represent this lab and shouldn't be used to dictate set up.
Transition notes:
- Remove and put away the pulley attached to the track.
- Put away small pieces of string and copper.
- Put away the motion sensor, its cable, and the lone cart mass.
- Detach the force sensor from the Collision Cart and put away just the cart.
- Check that all tables have the correct equipment, straighten everything, tighten screws, check masses, sweepy sweepy.
Equipment List:
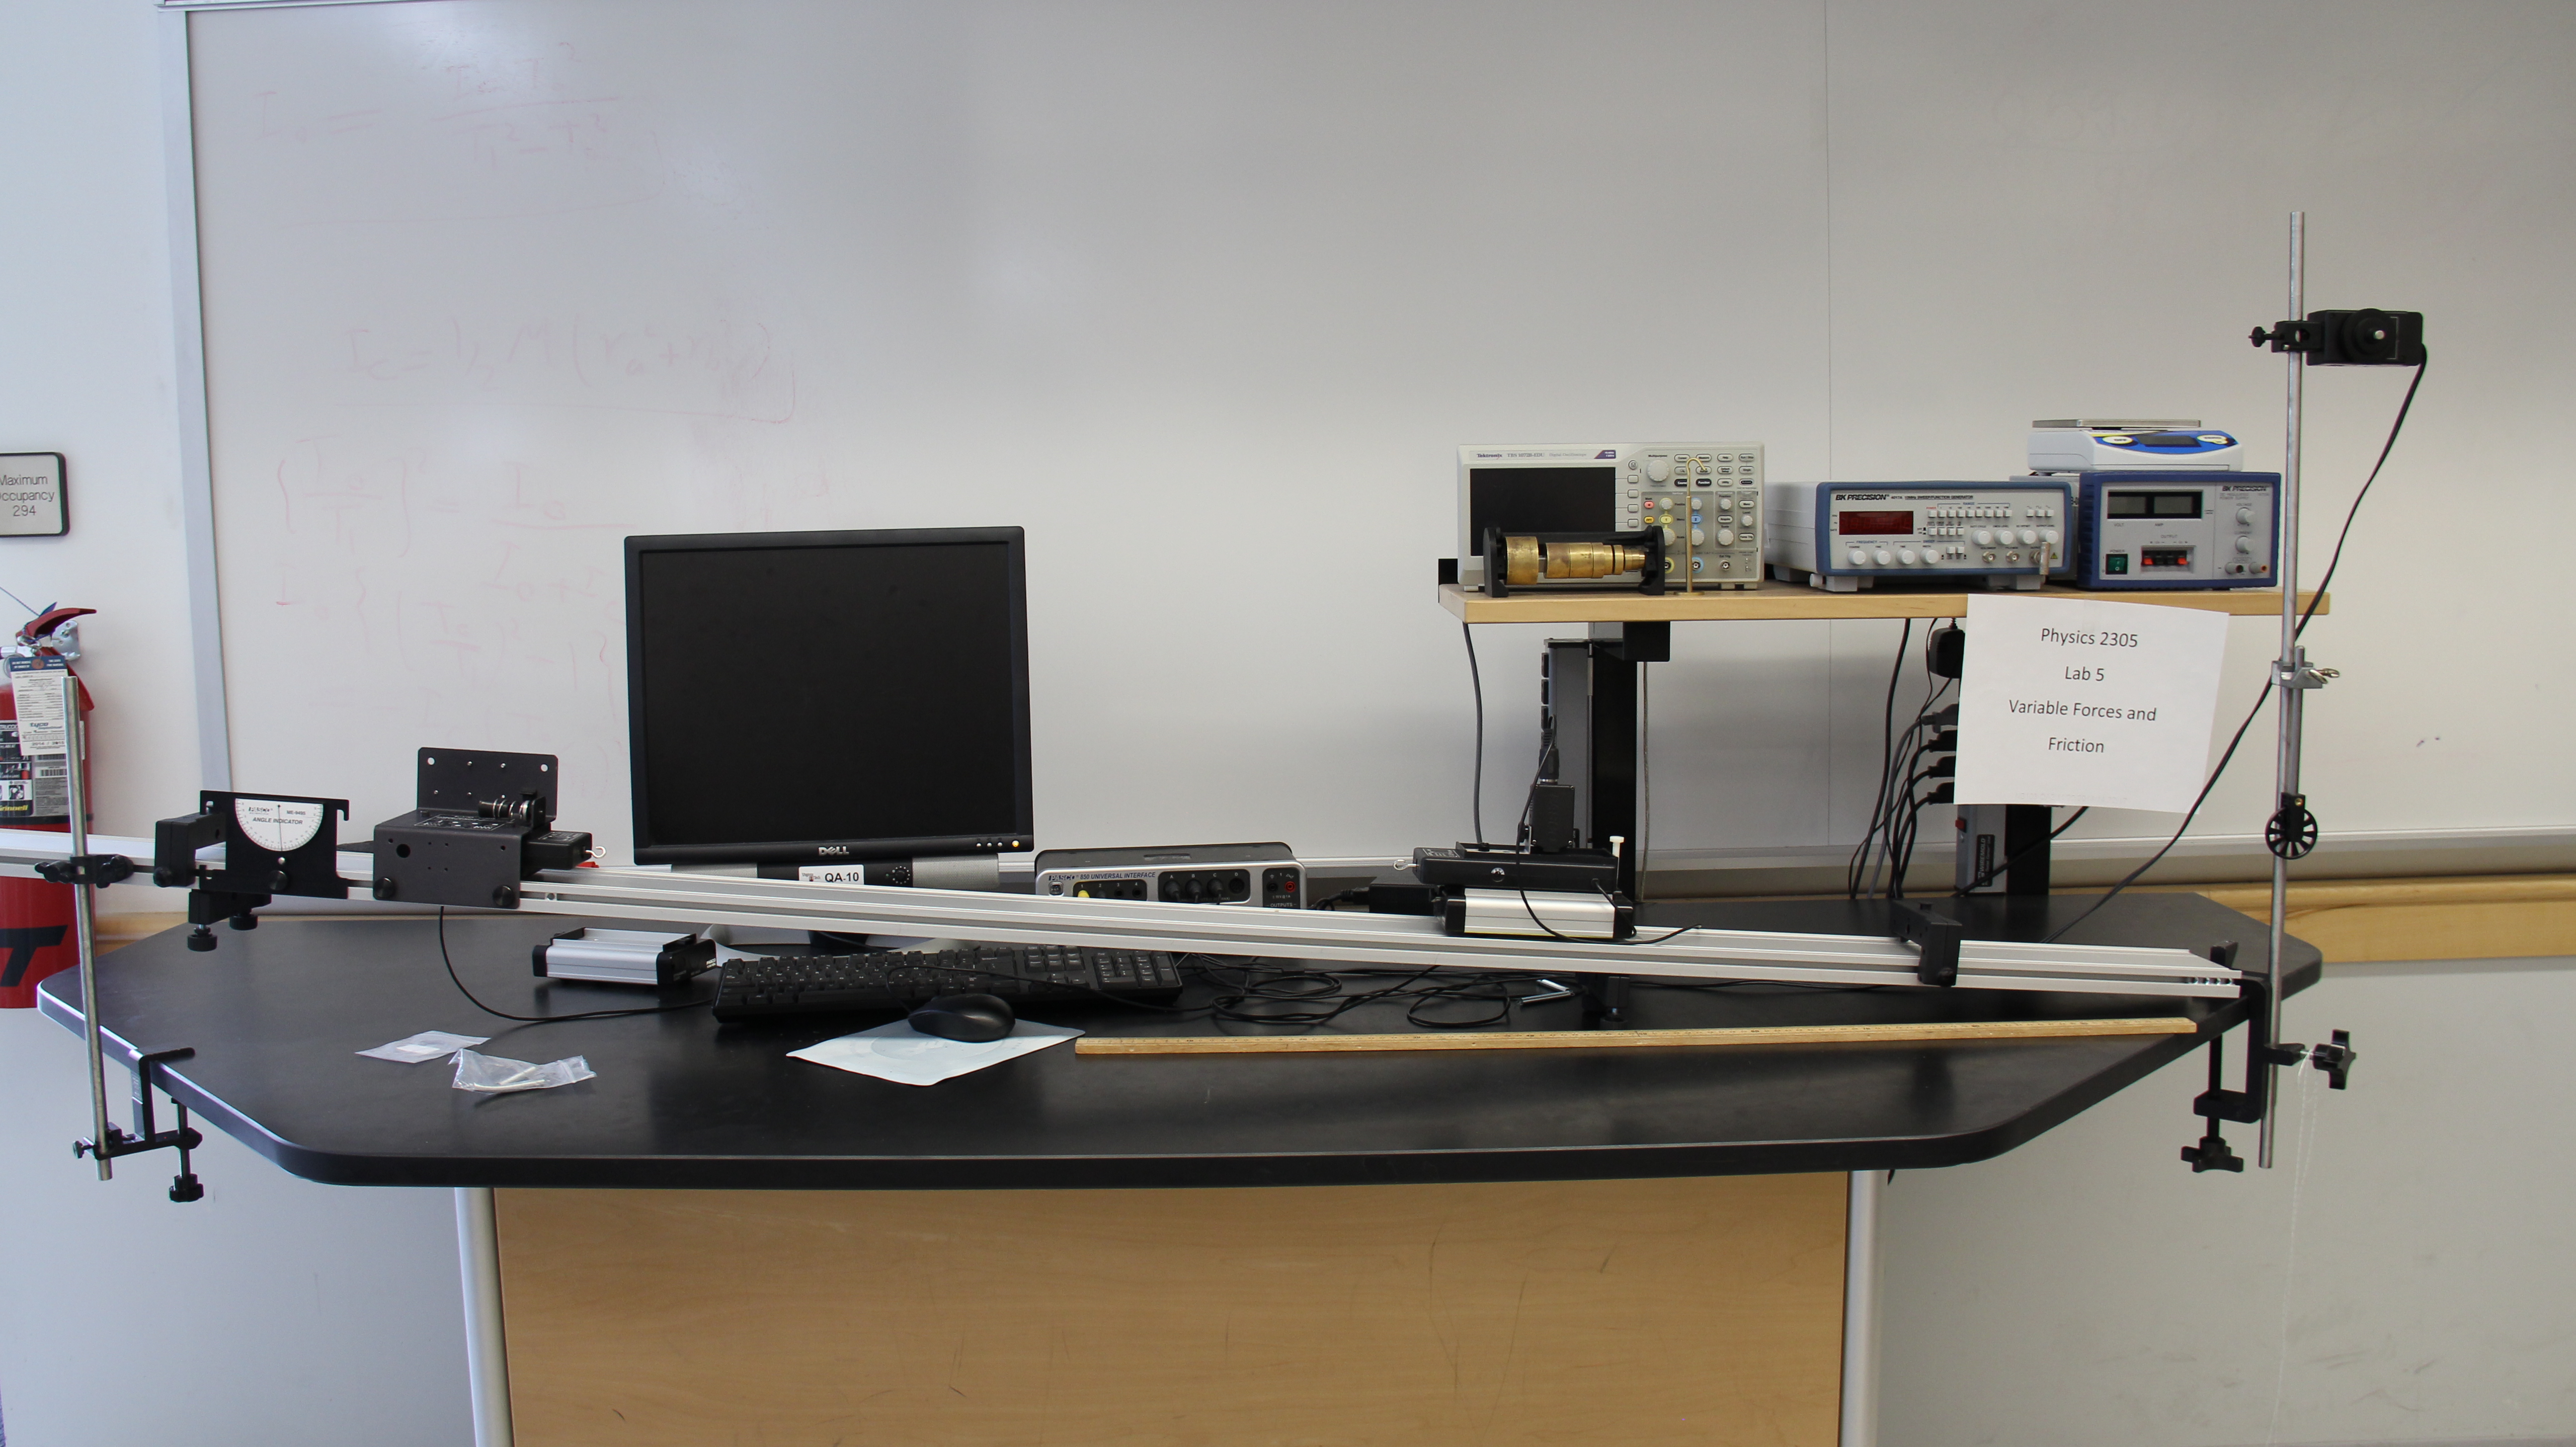
- 850 Interface with the following sensors:
- RMS with
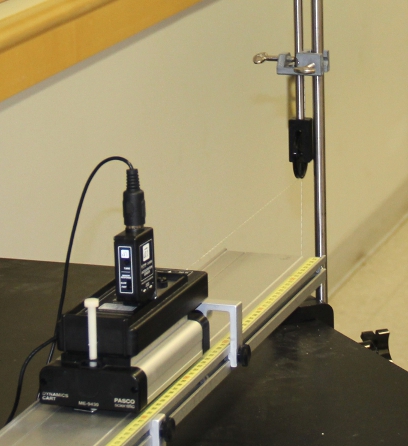
yellow plug DG1, black plug DG2 - Force Probe with hook mounted on Dyanamics Cart[Plunger Cart] (Analog A)
- Force Probe with hook mounted on Bumper Bracket(Analog B)
- Acceleration Sensor
- Mounted to the force sensor on the plunger cart using the Acceleration Sensor Screw and such that the positive direction aligns with the force sensor's positive arrow.
- Plugged in to the interface (Analog C) using the 8 pin Extension Cable
- Cart Track
- Elevation Clamp on the left side clamped to the 45cm Rod sitting in a Medium Mlamp
- Track Angle Indecator attached with a Short Track Screw
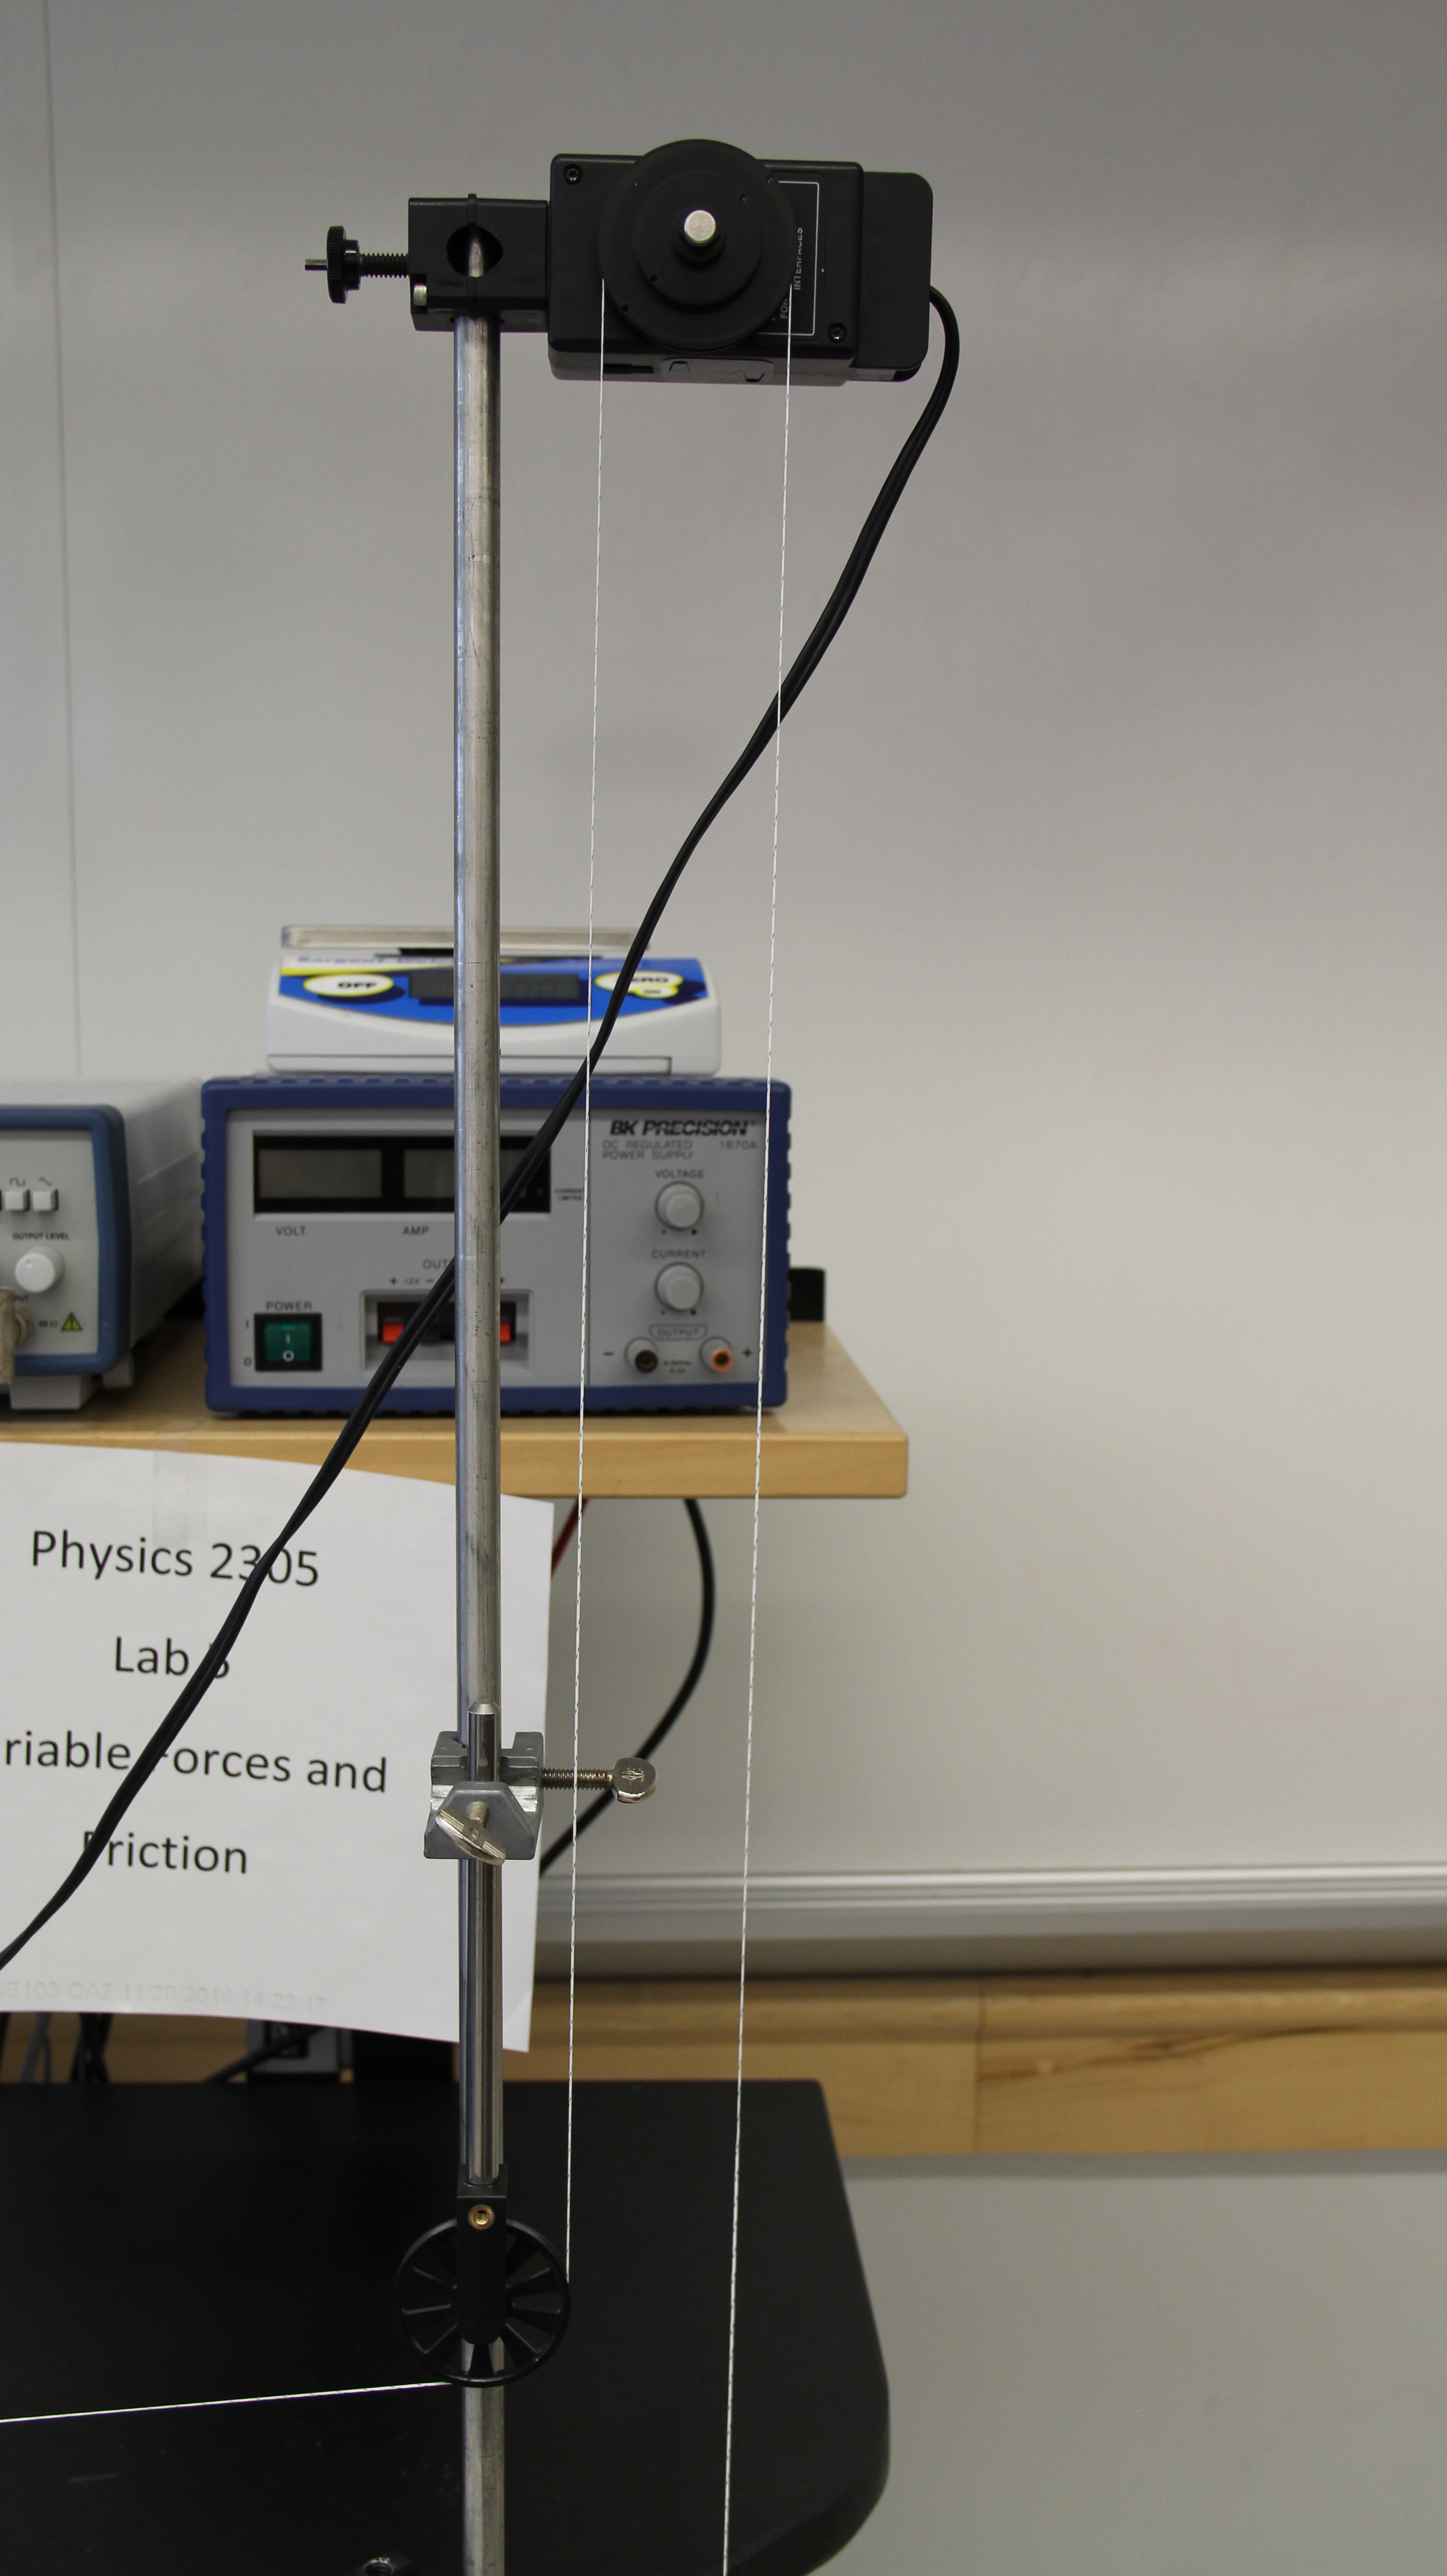
- RMS Pulley System:
- Super Pulley with the pulley downward attached to the 90 cm Rod with a Rigth Angle Clamp
- RMS mounted to the top of the rod with the pulleys facing towards you and the 2.5m String
- All held up by a Large UNiversal Clamp.
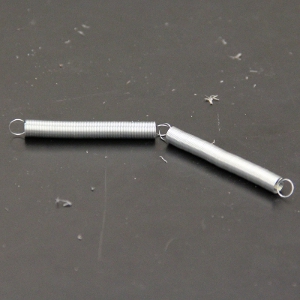
- 2 x 8 N/m Spring
- Hanging Mass Set with the following masses:
- 1 x 10g mass
- 2 x 20g mass
- 2 x 50g mass
- 1 x 100g mass
- 2 x 200g mass
- 1 x 500g mass
- 50g Mass Hanger
- 1 Meter Stick
- Electronic Balance
Notes and tests:
- Start “2305 Lab 5 test.cap”. Move the cart back and forth, and push and pull the force probe. Check that they register correctly on the graph.
- No brass posts or cart masses needed.
- The RMS pulley should not be on the PASCO logo side (PASCO should be easily read).
- Negative on the acceleration sensor should be pointing TOWARDS the force probe hook ( the front of the cart).
- The bumper accessory is only to hold the force probe, the parts are not used.
- The end stop should be in front of the bumper accessory, the spring will go through the hole in the end stop.


![[HOME]](../../images/Mis/home2.GIF)
![[PREV]](../../images/Mis/arrow2.GIF)
![[PREV]](../../images/Mis/arrow.GIF)
![[PREV]](../../images/Mis/arrownew.gif)